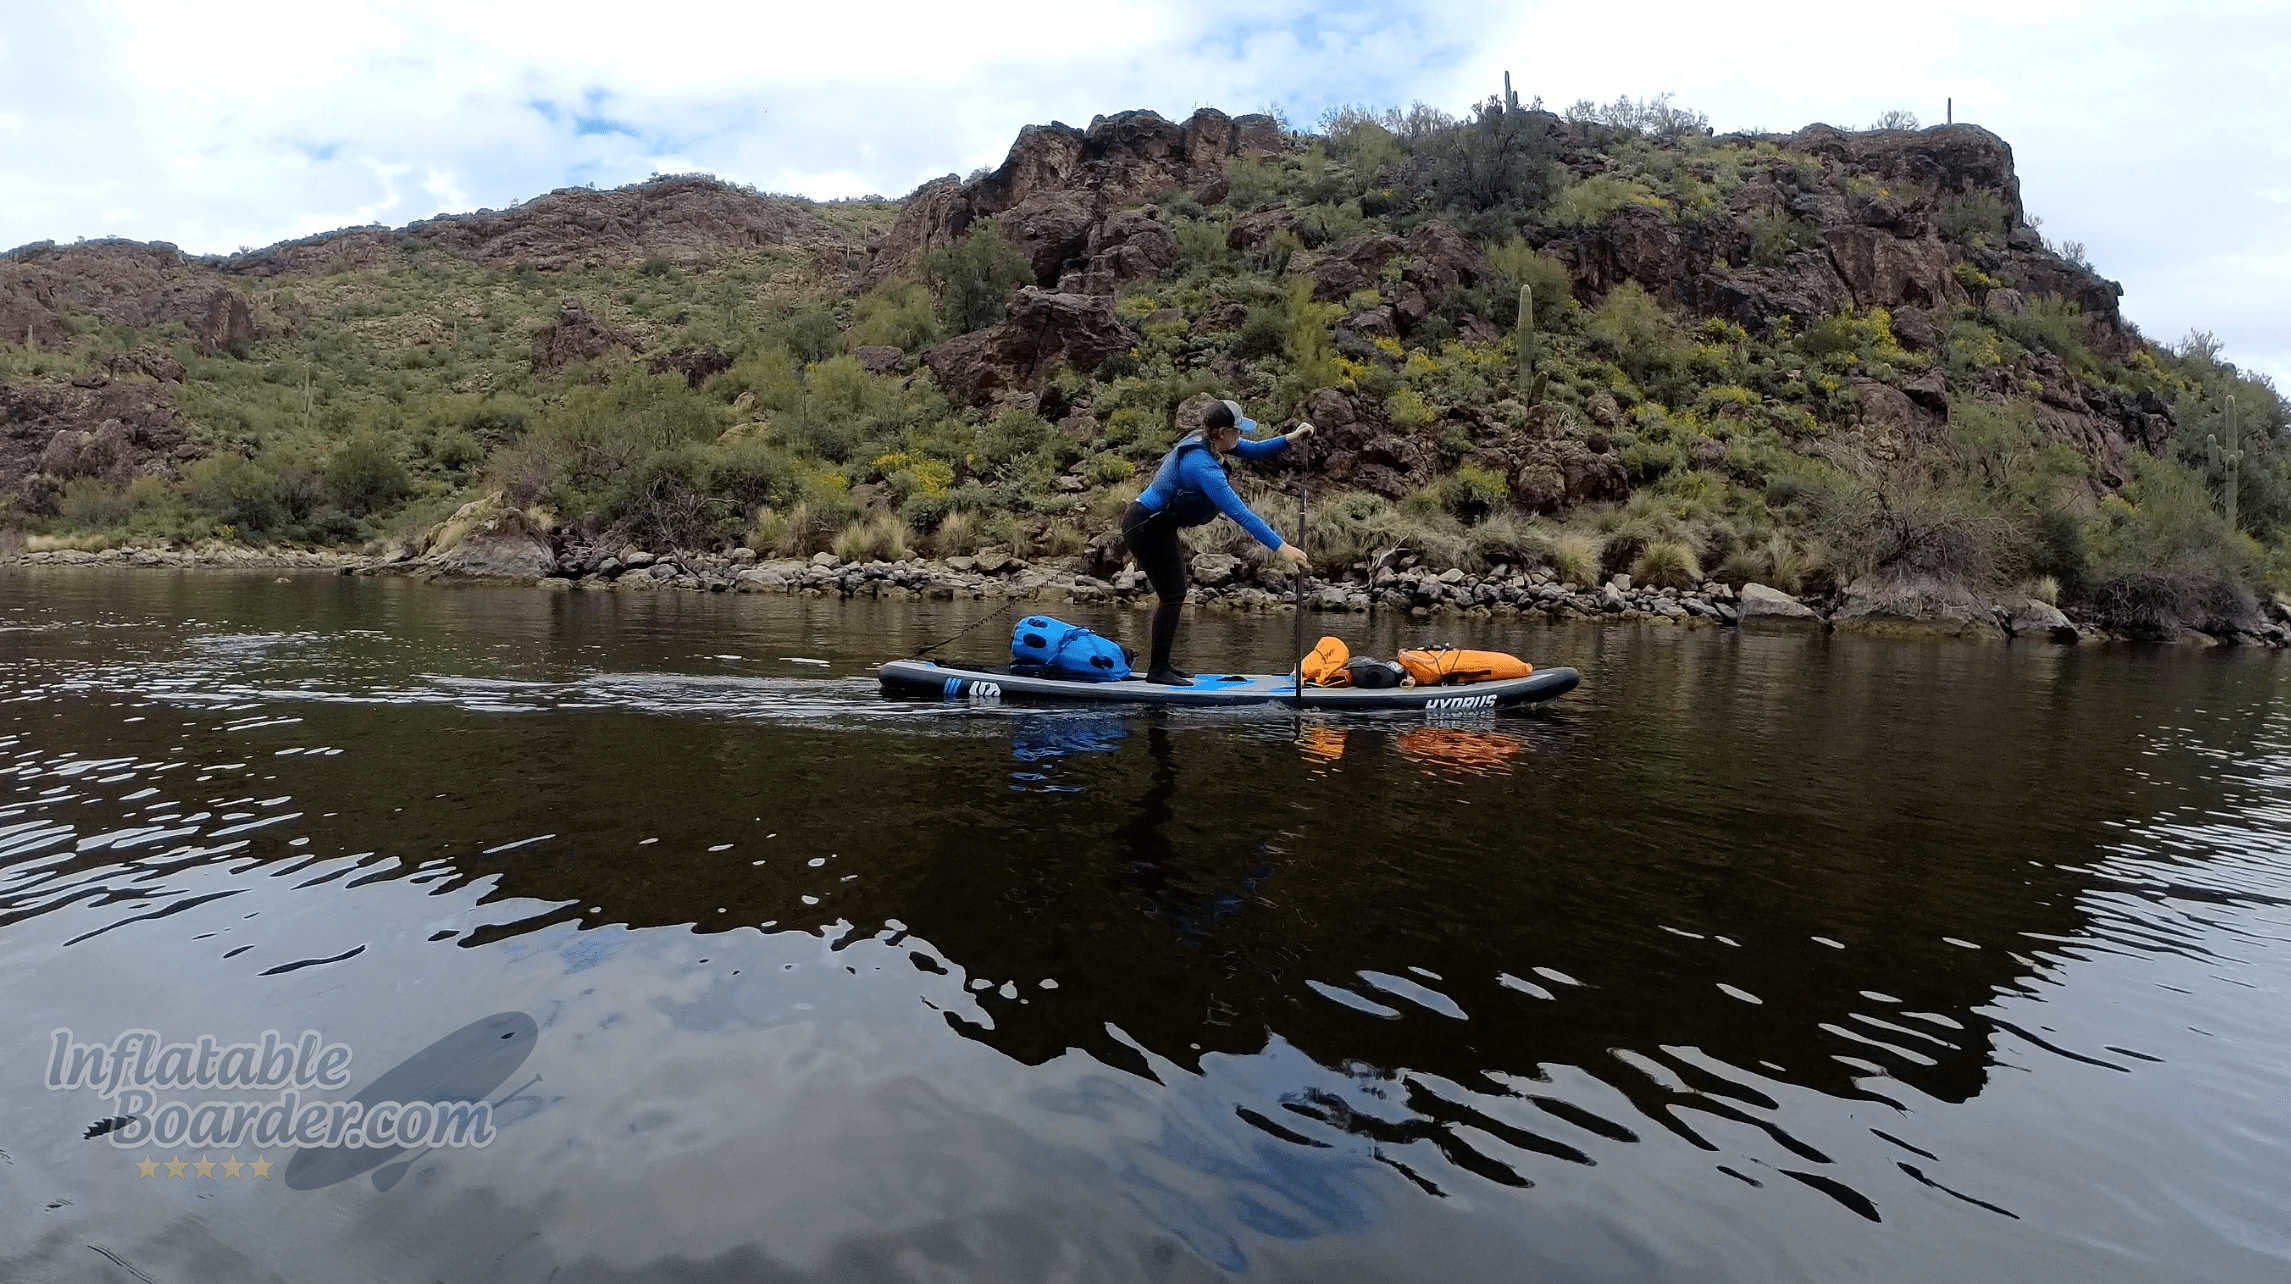
SUP Camping can take you to some truly incredible places.
Camping comes in many forms. On one end of the spectrum you have “Glamping” – camping outdoors with all the luxuries of home you can possibly bring. On the other end, extreme ultralight backpacking – deciding the importance of every single gram you bring with you in an effort to move as far and as fast as possible. There’s car camping, backpacking, bikepacking, and paddle camping.
SUP Camping can likewise run this entire gamut of luxury and austerity – it’s totally up to your own inclinations if you want to go all the creature comforts or only the bare essentials.
What’s wonderful about camping from your SUP is that you don’t have to stick with just one of those options. While you probably can’t fit as much on your board as you could in the back of an SUV (though using a multi-person board would fix that!), you also have far more room than what you can comfortably carry in a 45-75L backpack. You don’t need to spend thousands of dollars on ultralight, ultra small camping equipment (though it can help in certain cases).
In this guide we’ll cover the basic do’s and don’ts, logistics, safety, and, techniques, and equipment choices to get you Stand Up Paddleboard Camping this season.
Where to Go (and When)?
Deciding where to go SUP camping and at what time of year is the first big decision you’ll need to make – but it doesn’t have to be an expedition! Check into the camping rules and regulations at your local state/regional parks, national forests, and other public lands by calling their offices.
Another excellent resource to help plan your first (or fiftieth) SUP camping trip is your local paddling club. These groups of paddlers can be a true fountain of knowledge when it comes to your local waters.
Rivers can present an excellent opportunity to explore your local area, but require a few more logistics and safety concerns than lakes or bays. You’ll also want to consider the skill level of your entire group when deciding what body of water to paddle camp. While a more experienced group may jump at a multi-day river expedition, that may not be every one’s cup of tea or even within their skill level. It’s better to err on the side of a shorter, more relaxing trip than it is to stress the group!
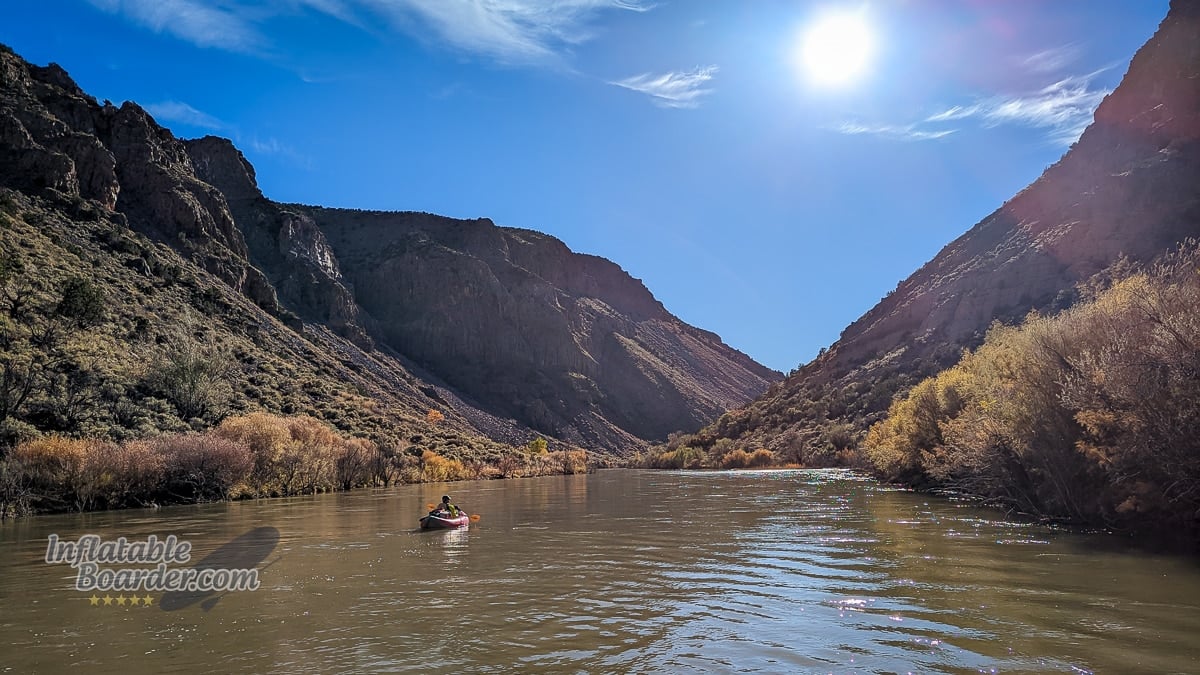
A mellow stretch of river can provide a relaxing way to travel to your next campsite.
Choosing the right time of year is also critical. From late fall to early spring, temperature can be a major concern not just while paddling, but in the type and size of camping equipment you need to bring with you. Certain areas are also prone to higher winds or more precipitation during certain parts of the year. Here in the Southwest US we have our spring windy season starting up. Strong winds can stymie even the best paddlers. Be flexible in your choice of dates and locations and have a few backups in mind as the weather can (and probably will) change as you approach your launch date.
Preparing For Your Trip – Logistics
I’m a fan of spreadsheets, my wife is not. Once you have your destination and time frame in mind it’s time to start working out the details, whichever way suits you best. Start your planning details with questions like these:
- Where is the Trip?
- What is the anticipated weather? (double check as the dates approach)
- What are the rules/regulations you need to be mindful of?
- Who is coming and what is their experience level?
- What equipment do you have (SUP and camping)?
- What equipment do you need (SUP and camping)?
- What are your emergency plans and contacts?
- For river trips – What are your shuttle arrangements?
It’s OK if you don’t have definite answers to everything right away. Make note of any missing information and determine what steps you’ll need to take to fill it in. We’ll get into some of these details in just a moment.
Create a Float Plan
The whole purpose of paddleboarding and SUP camping is to have fun. It can be really difficult to have fun if there are safety concerns. We’ll go over some of the safety equipment you need for SUP camping soon, but an often-overlooked element of paddling safety is a float plan.
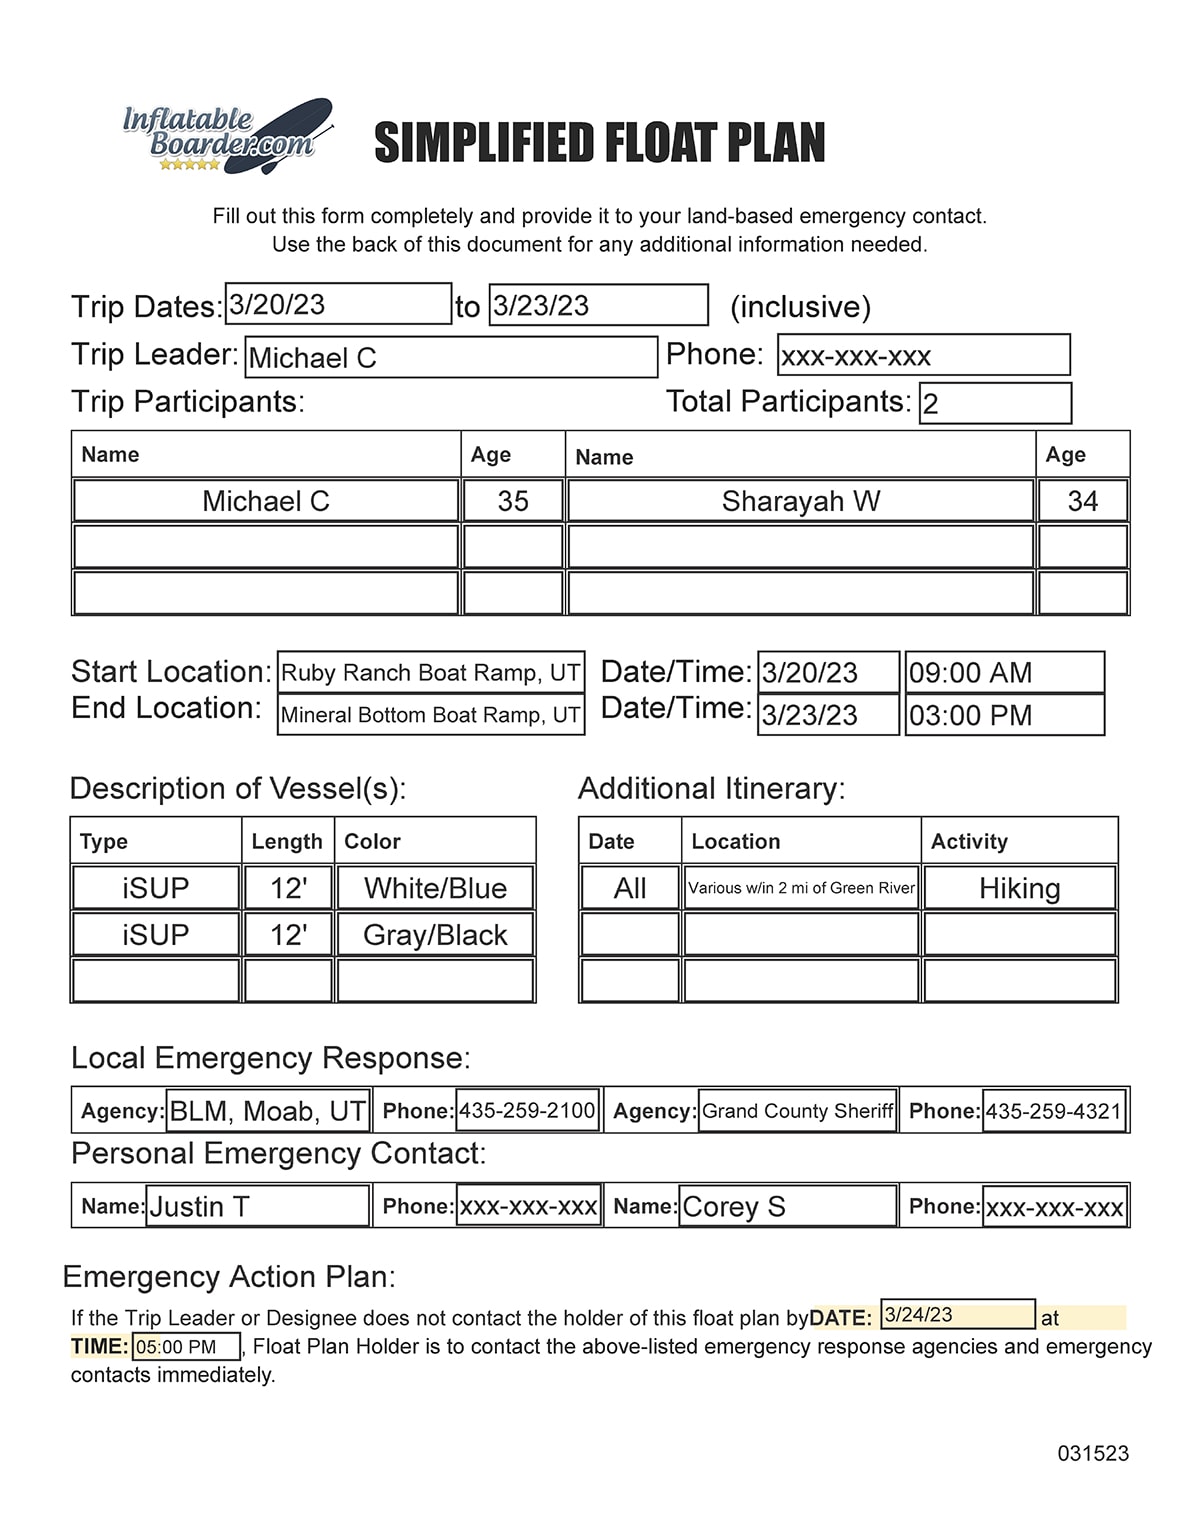
An example float plan with emergency contact information and instructions.
Float plans come in many different forms (sometimes literally as forms) but all contain a basic set of information about your trip. The purpose of a float plan is to give the critical details of your trip to a trusted individual who is not going on the paddle trip. This way you and your crew have someone looking out for you while you are having fun. At its core, the float plan contains the basic details of your trip and indicates to your float plan holder who to call in case of an emergency and when to call them.
What to include in your float plan:
- Date(s) and Time(s) of your trip (Start and End)
- Number of Participants and Names
- Vessel Description(s)
- Activities/Itinerary
- Local Emergency Services contacts
- When to contact Local Emergency Services
While you may see the term “file a float plan,” it’s important to remember that official entities (like the US Coast Guard) do not actually accept float plans – it’s up to you to “file” it with a trusted individual who can contact the coast guard or other emergency response if necessary. The USCG has a formal float plan form (PDF) you can fill out, but it’s geared toward motorcraft and open ocean travel, so it’s not necessarily that helpful for paddlers. To make things much simpler, we’ve created a SUP Camping float plan that fits onto a single page. Here is an example of a float plan we used on a recent SUP camping trip.
What Kind of Board and Other Paddle Equipment do I need to SUP Camp?
You can SUP camp with nearly any paddleboard, however there are certain features to look for that will make it much easier.
First, you’ll want to match your general SUP type to your trip. Are you planning long miles on flat water? You probably want to use a faster and more efficient touring paddleboard. Are you bringing lots of equipment with you for a more casual and comfortable experience? Then you’ll need a larger board that can accommodate everything you plan to bring. There are also more fringe cases like whitewater river trips where you want a more specialty paddleboard that can carry you (and your gear) easily through the rougher sections.
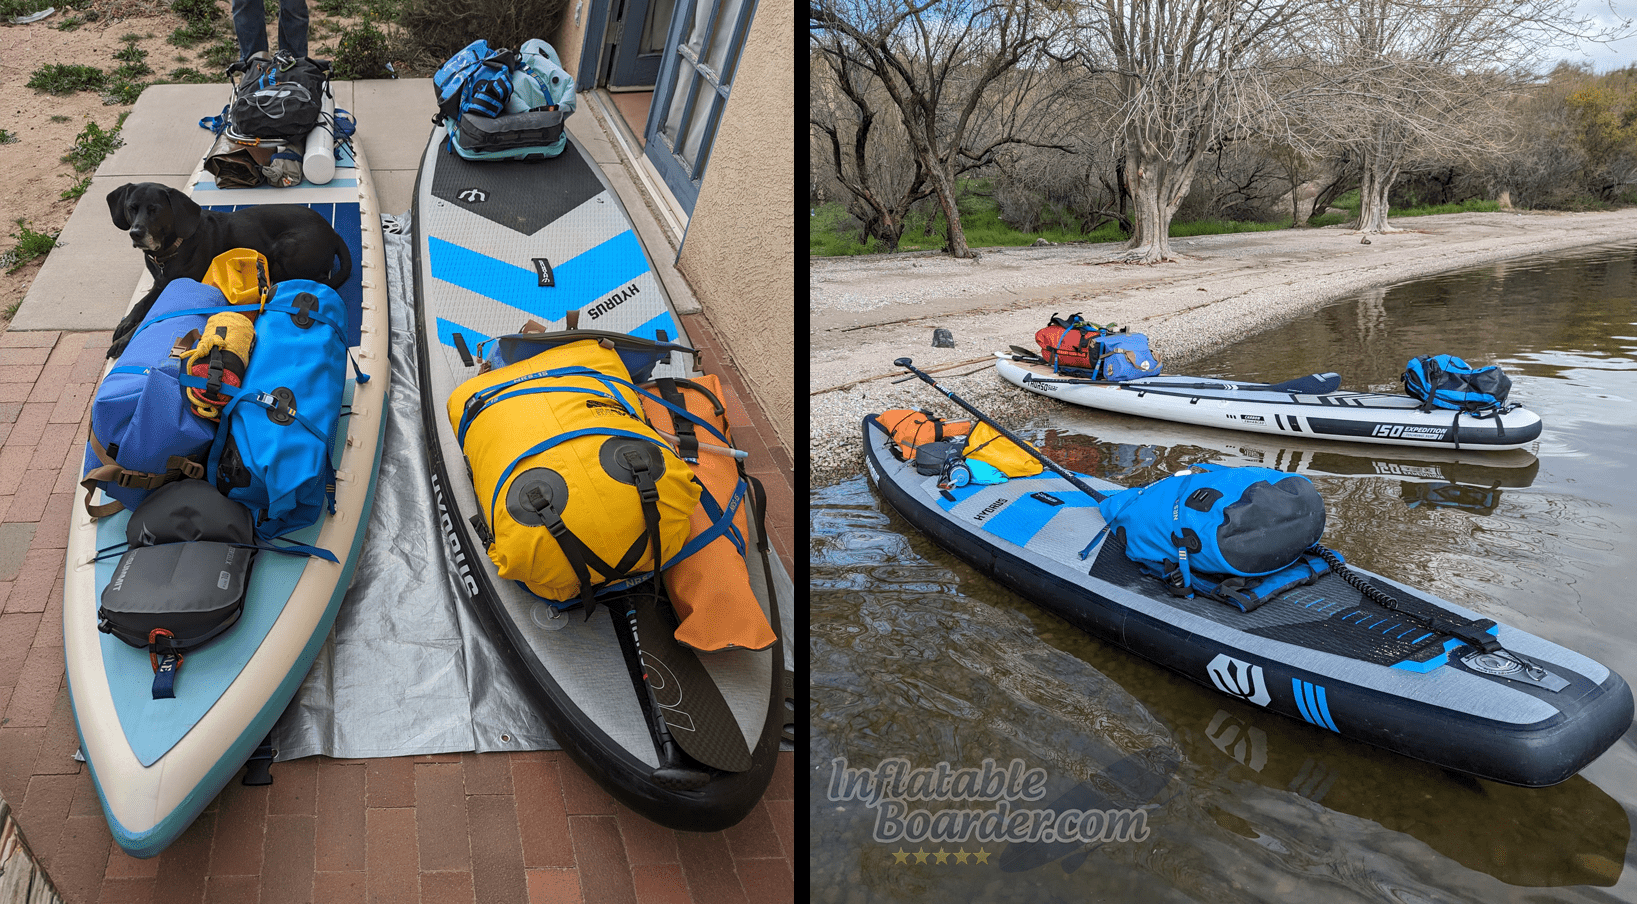
On the left are two higher-capacity all-around iSUPs loaded for a 4-day river trip. On the right are two longer, narrower touring iSUPs loaded for a single overnight flatwater trip.
The next thing you’ll want in a paddleboard for SUP camping are plenty of tie down points that are well-spaced around the deck. Cargo bungees that are usually included on many SUPs work well for small day bags, but often don’t have the size or strength to securely hold larger bags for overnight camping equipment. Tie down points allow you to use nylon straps or rope to securely attach your critical gear.
Paddles, like your boards, should be matched to your trip. For longer, touring-style trips a paddle with more flex and a smaller blade will be more forgiving and comfortable to use. Shorter day trips can be made with pretty much any comfortable paddle. Very heavy loads or trips that include faster rivers will be better matched with stiffer and larger paddles for better acceleration and maneuvering. Check out our Best SUP Paddles comparison and How to Choose a SUP Paddle guide for more information.
You’ll want to bring along at least one extra paddle for every 2-3 people in your group as well. This ensures that if you do lose or break a paddle everyone can still continue the trip and get home easily.
PFDs, Leashes, and Fins are all also critical for your trip. Always wear an appropriate PFD and Leash (quick release leashes only on rivers please!) for your safety and your group’s safety. For flatwater day or expedition trips, a long, broad touring fin provides better tracking and stability. For shallow water and river trips, a shorter fin will help you maneuver and prevent striking submerged objects.
You’ll want to bring along an appropriately sized repair kit that includes a valve wrench, patching material, adhesive, and a pump you can use to re-inflate your paddleboards if needed.
A functioning communication device is also incredibly important to bring along on your SUP camping trips. If you have reliable mobile phone service during your trip that is an option. If you are paddling on the ocean, bring along a marine VHF radio (and understand its proper operation). A satellite communicator like the Garmin inReach Mini can be used to provide navigation, activate emergency SOS/Search and Rescue in the case of an emergency, and it can also be used to communicate with your float plan holder or emergency contacts via text message, allow them to track your location, and receive weather updates.
Packing Your Equipment for SUP Camping
One very important distinction between paddle camping and most other types of camping is the continued presence of water and risk of immersion for both you and your equipment. If you thought falling off your board and being wet is uncomfortable – wait until you have to crawl into a soaked sleeping bag later that night!
Thankfully we can pack our camping gear, clothing, and everything else into dry bags.
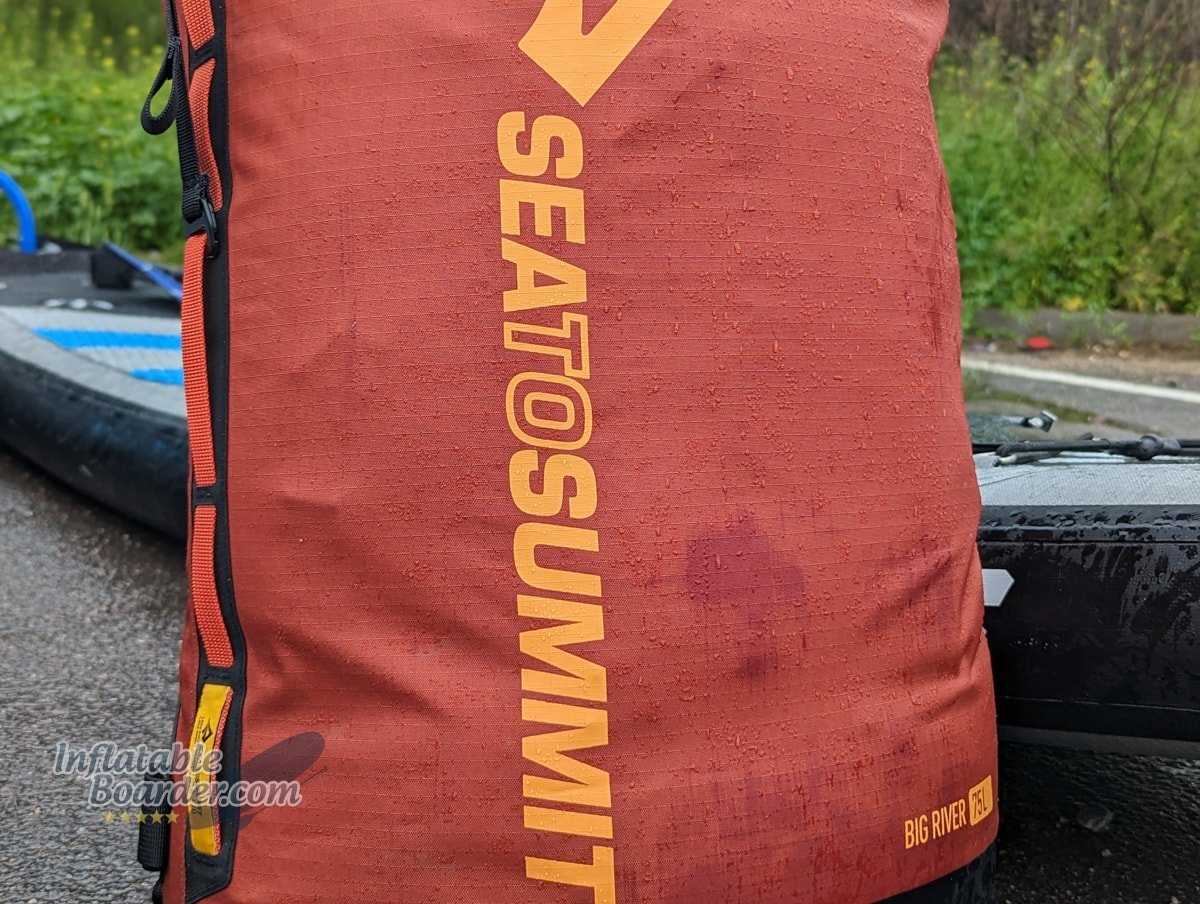
Dry bags come in all shapes and sizes, but the one thing they all have in common is their waterproof materials (like this TPU-coated nylon fabric).
Dry Bags are specifically designed to be waterproof, but do come with a few caveats to make sure your gear stays dry.
First – Not all dry bags are created equally. Different material types do a better job of keeping dry if constantly wet. Some dry bags are rated for submersion while others are not. I recommend dry bags that have at least a TPU membrane on a treated nylon shell for paddling. Rubberized TPU and PVC bags are even more durable and usually fully waterproof when submersed, but are heavier and more expensive. Nylon/Silnylon-only bags are only splash proof and not waterproof. Always make sure your dry bags are fully waterproof.
Second – You must properly close the bag in order for it to be waterproof. This may sound simple, but when it comes time to pack you need to leave enough room in the bag to ensure a proper seal. Most dry bags use a folding method where the top of the bag is pinched together, rolled tightly at least three times, and then the sides are latched together to hold it in place. It does require some empty space at the top of the bag in order to close properly. Others may have a zipper system that lets you pack the bag a little more full, but still needs enough room to close properly. Zippers also need more regular care in order to maintain their waterproof seal.
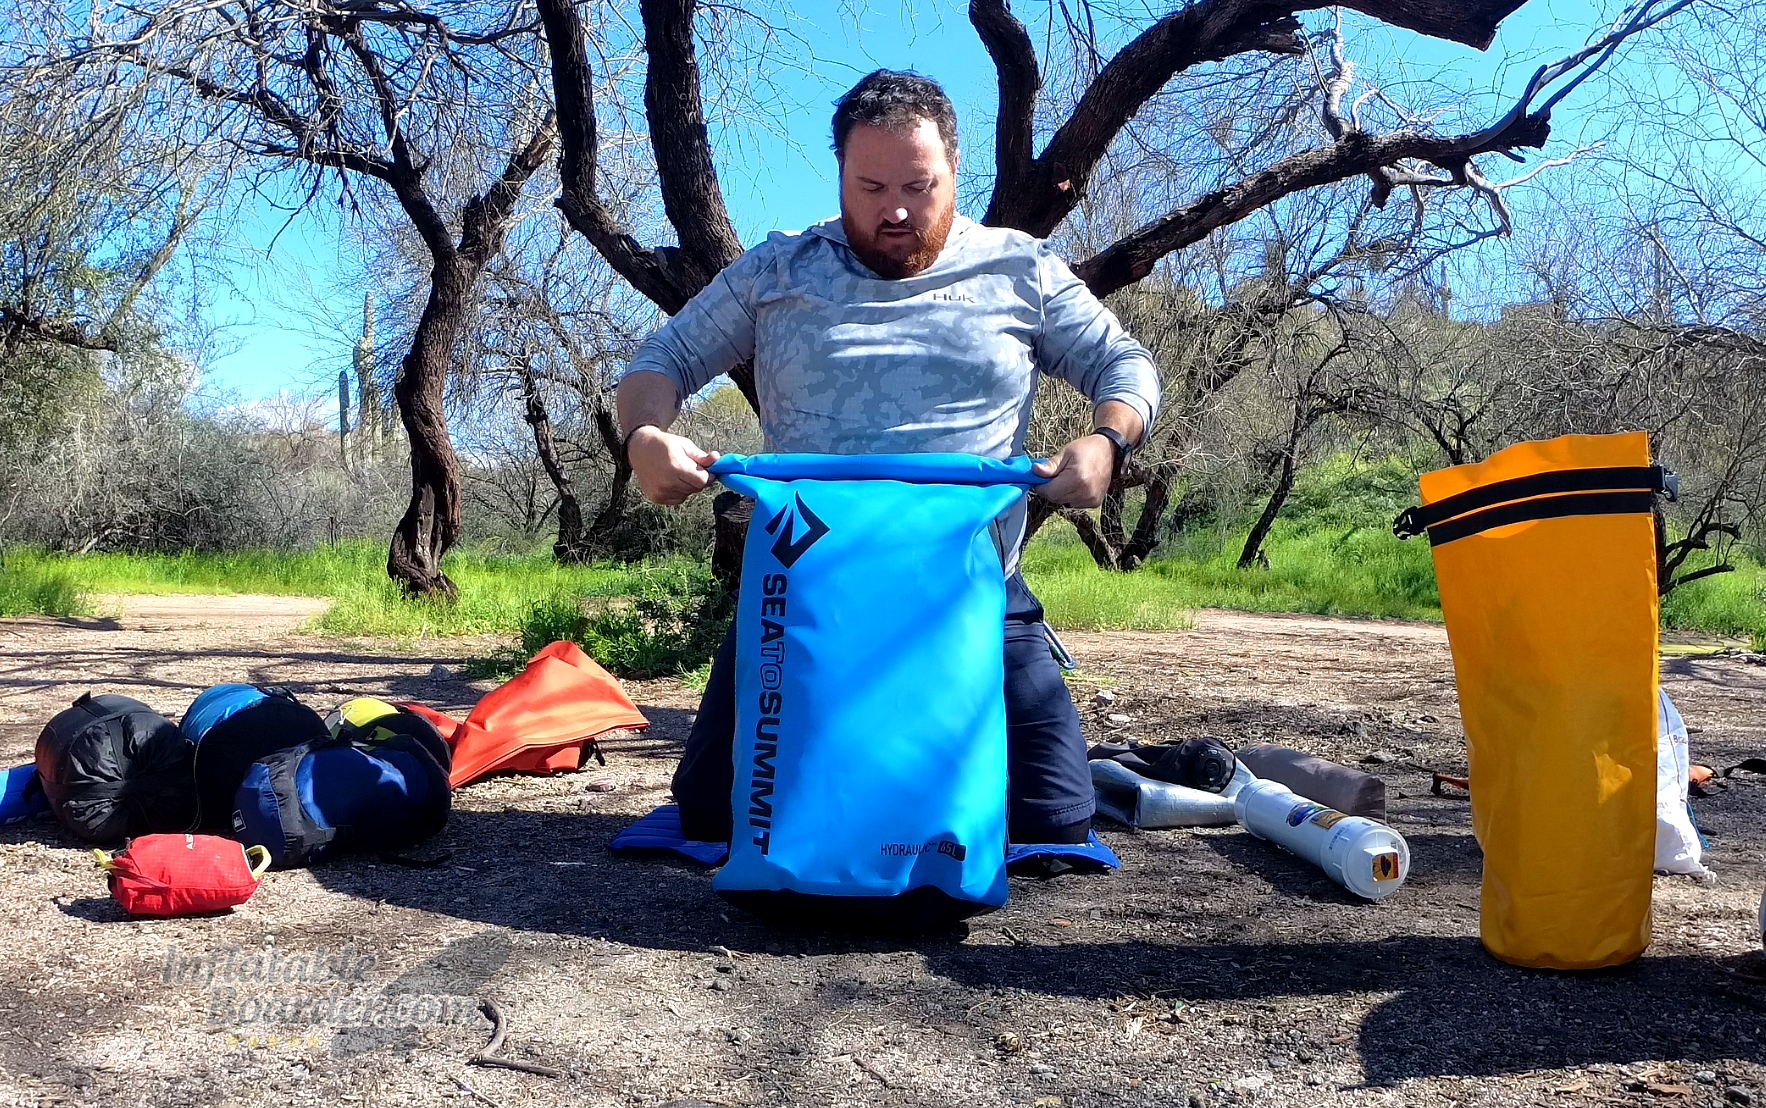
Make sure to properly close your dry bag by folding the top at least three times before latching the ends together.
Each person on your trip should have one large-size dry bag (45-75L) to hold their personal clothing and camping necessities. This includes a sleeping bag, sleeping pad, jackets, clothes, shoes, etc. During warmer times of year you can typically carry less or lighter items and fit them in a smaller bag. When it’s a bit chillier you’ll want a larger bag to fit more, bulkier, items. I have really been enjoying the Sea-to-Summit Big River 75L Dry Pack. It’s definitely large, but the TPU-coated nylon material is lightweight and easy to work with. It also has an integrated backpack harness to make carrying the bag to your tent an easy task.
In addition to one large dry bag for everyone’s camping gear, I also recommend everyone have one small (10-15L) dry bag for their daily essentials they may need while paddling. Sunscreen, snacks, camera/phone, etc. I love to use my Watershed Ocoee dry bag as my personal item bag. The ZipDry closure is fast and easy to use, but also incredibly secure.
Lastly you’ll need a few dry bags for your group equipment. Tents, fire pans, food, stoves, cookware, repair kits, etc. For this I recommend one large dry bag (45-75L) for every 2-3 people. You can also break this equipment out into multiple smaller bags depending on your specific needs.
Tying your equipment down is just as important as packing it in dry bags. Rather than relying on the included bungee cords (which usually aren’t big enough for large dry bags anyway), I recommend using 1” nylon webbing with cam buckles. The NRS Loop Straps come in two pieces and allow you to attach the cam buckle to one D-ring and the long end of the strap (I like the 9’ versions) to another. You can then weave the strap over/through your dry bag and multiple D-rings before connecting it to the cam buckle.
You should always “Rig to Flip” – tie down your bags and cargo so that if your board does flip over everything stays securely in place.
What Kind of Camping Equipment Do I Need for SUP Camping?
The exact equipment and clothing you bring with you will depend on your location, weather, length of trip, planned activities, and more. However there are some general things to keep in mind. If you plan more like a backpacking trip, your equipment will typically be smaller and lighter, and thus fit easier into fewer/smaller dry bags. But that doesn’t mean you need to go get the most ultralight equipment available ($$$$$) since you aren’t carrying it on your person.
Tents – I like to use one 2- or 3-person backpacking tent per two people. The occupancy designations of these tents are basically for sleeping only, so a 2-person tent is going to be quite cozy (generally the floor size is between a twin and queen size bed). If you aren’t the closest friends with your tent mate (or they snore) a 3-person tent will be more comfortable overall without being too large to pack in a dry bag.
Sleeping Pads – Pick a comfortable backpacking sleeping pad (inflatable or solid foam – your choice), but it doesn’t necessarily need to be the absolute smallest/lightest thing you can find. My wife and I own ultralight inflatable sleeping pads for backpacking and we hate them. They’re very narrow (only 20” wide), don’t offer much support/cushion, and the interior makes a crackling sound any time you move. We always bring an extra foam pad to put under them (thus negating the size and weight savings anyway). This spring we bought a lightweight (but not ultralight) double-wide 2-person inflatable sleeping mat that essentially turns the entire floor of our 2-person tent into a 3” air mattress. Holy cow that was an amazing purchase! We both slept far better on that than we ever did on our individual pads.
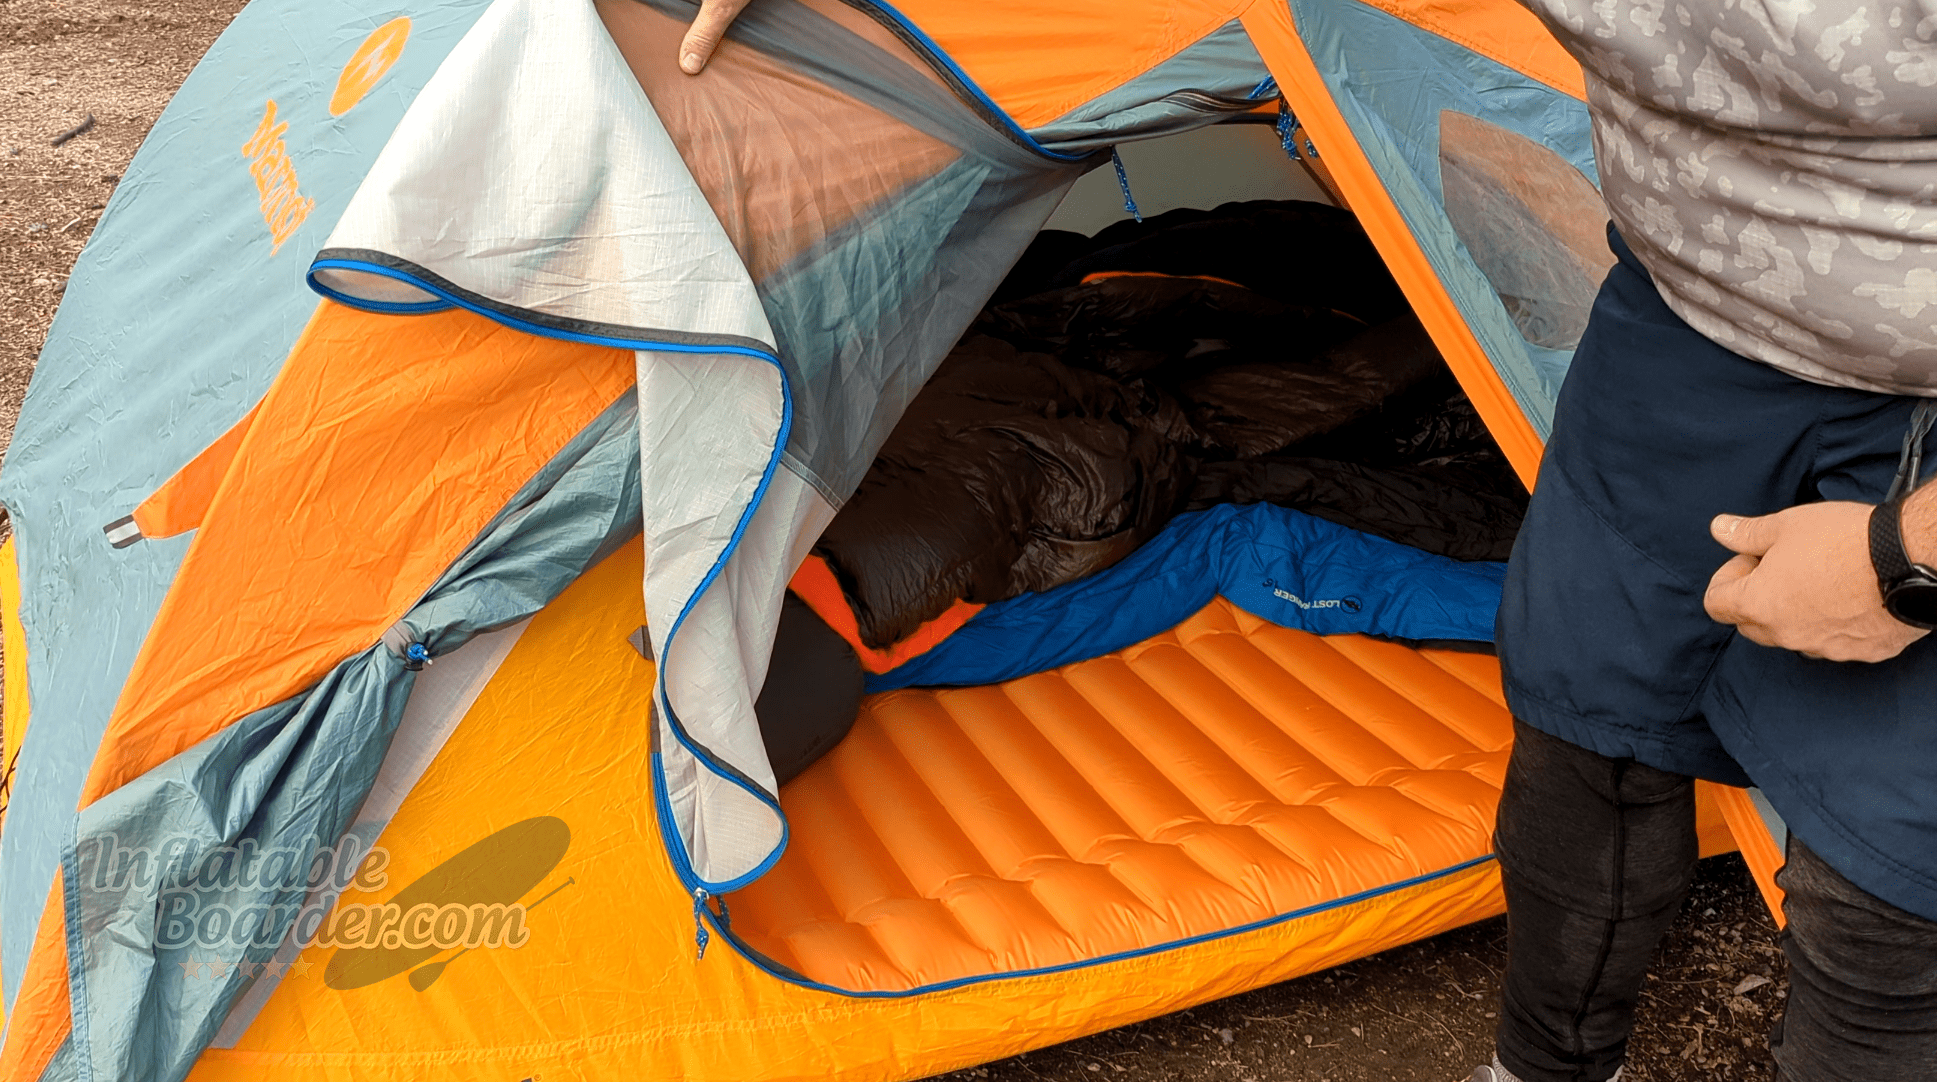
A double-wide sleeping mat completely fills the floor of this 2-person backpacking tent.
Sleeping Bags have three basic decisions to make before choosing which one to use.
1. Shape: Mummy, Rectangular, or Quilt
2. Fill: Synthetic or Down
3. Temperature Rating
Rectangular sleeping bags are roomier than mummy bags, but the insulated hood of a mummy bag provides better heat retention and the tapered shape reduces weight and packed-size. Quilts are the lightest option, but are best suited for the experienced backcountry camper who is valuing weight and size over warmth. My personal preference for most camping is a mummy bag.
Down filled sleeping bags are lighter, more compressible, and more expensive than synthetic filled bags. Synthetic bags are less expensive and are able to insulate better if they do become wet. My preference is for a medium-to-high loft down sleeping bag (650-800 fill power). I always pack my sleeping bag in a water-resistant compression bag, and when it’s not in the tent it lives in my dry bag, so I’m not worried about it getting wet.
Choosing a temperature rating can be daunting. The most important thing to remember is that listed temperature ratings are considered “Survival Temperature” and assume that you are wearing a medium-weight set of long underwear bottoms/tops, socks, and a knit hat. That’s a long way of saying – get a colder-rated bag than you think you need. For example: If the expected lows are around 40° F, you’re going to want a 25° F rated sleeping bag (or warmer if you tend to sleep cold).
Clothing for your SUP camping trip will break down into three categories.
1. Paddle clothes – this is what you’ll wear while you are paddling. In the warmer summer months this might just be a bathing suit, sunscreen, hat, and PFD. In colder times this could be warmer synthetic clothing, wetsuit, or even a dry suit. Check out our Guide to Cold Weather SUP for more details on matching your paddling clothes to the temperatures.
2. Camp clothes and sleeping clothes – these are clothing items that you’ll want to change into once you reach camp. Depending on the length of your trip it’s good to have one or two sets of clothes for wearing around camp, and a dedicated set (including socks) to wear just while sleeping. This helps keep your sleeping clothes dryer and warmer.
3. Shells and shoes – these are your rain jackets, puffy coats, and a dry pair of shoes to wear at camp. The rain jacket can also be an effective tool for paddling in the rain, or warming up if you do happen to go for a swim while paddling, so I recommend keeping that easily available.
From there you’ll just need to adjust, add, or subtract according to the weather conditions. I personally like to pack one set of paddling clothes and one set of camp clothes for every two days of the trip. On longer trips they get reused, but have a chance to air-out a bit in between. This also helps prevent overloading your dry bags and board.
Some areas also have additional required equipment you may need to have with you according to local rules and regulations. This is very common on many popular river trips, and may be required for backcountry camping in national forests, state or regional parks, or other locations. Common regulation-required items are appropriate size first aid kits, spare paddles, repair kits, fire pans, and toilet systems.
Food, Water, Fire, and Sanitation for SUP Camping
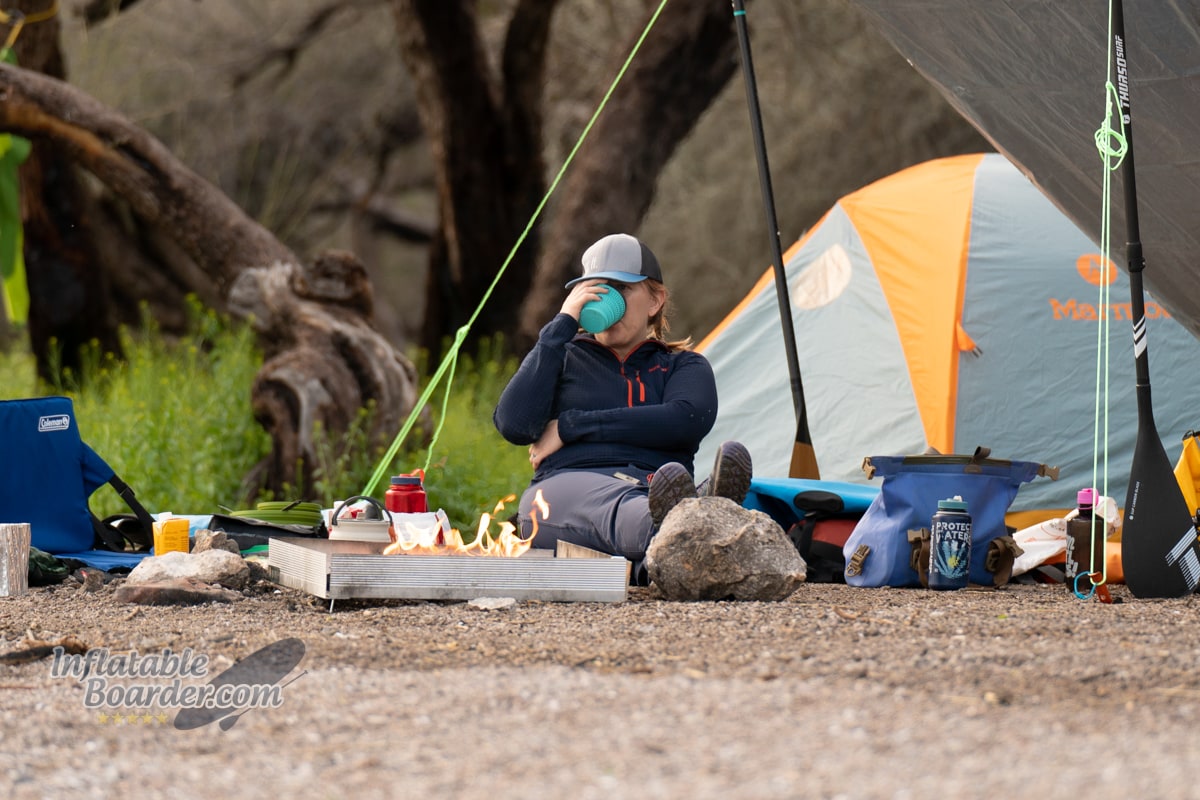
Relaxing by the campfire with a delicious dinner as the sunsets is better than any five-star restaurant in my book.
After a long day of paddling (or even a short one) a hot, tasty meal can really elevate your SUP camping experience. Camp food can also be found on a spectrum from “Glitz ‘n’ Glam” to “This-is-nutritionally-adequate-regardless-of-how-it-tastes.” You can choose to cook your own meals with fresh ingredients (you’ll want to make sure to have room on your board for a cooler), pre-cooked homemade foods (again, a cooler is needed, but generally it can be smaller), or dehydrated backpacking-style meals and processed/preserved foods. I like to do a mix of all of the above for my SUP camping trips. Here’s a quick menu for a recent 2 day/1 night SUP camping trip I did:
- Breakfast – at home
- Lunch – Tuna wraps with cheese and avocado spread; trail mix
- Dinner – Chicken and Rice with Mole Sauce Backpacking dinner with a small box of wine and dark chocolate bar for dessert
- Breakfast – egg and sausage breakfast burrito (mix of dehydrated and fresh items); apple; pour-over coffee
- Lunch – Protein bar and trail mix
- Dinner – at home
We also brought along a few extra granola bars if we wanted them during the day and some sleepy-time tea as a way to warm up before bed.
For cookware we used a backpacking stove and the Sea-to-Summit X-Set collapsible cookware and dinnerware. These two kits together make up the most complete and compact cook kit I’ve used in over 20 years of camping. I’ve definitely made do with less to save weight and space (cooking, eating, and drinking from the same aluminum cup!), but having the ability to cook your eggs in the morning and drink your coffee at the same time is absolutely worth it! The X-set did great with quickly boiling water and cooking food, and the bowls, plates, and cups never once collapsed down on us by accident. Most backpacking and camp stoves don’t generate a large enough flame to worry about the collapsible sides of the cooking kettle and pot – they just aren’t suited well for cooking directly over a large campfire.
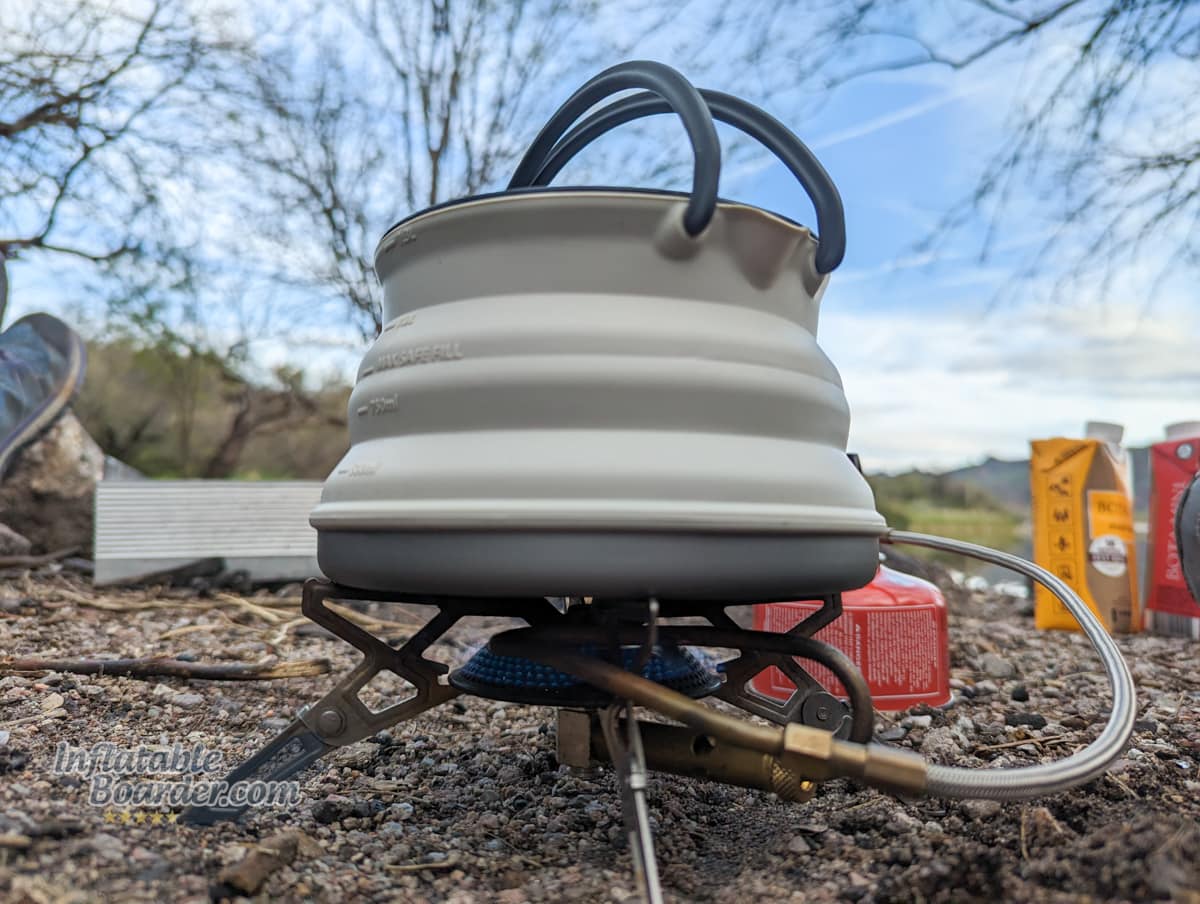
A collapsible kettle saves space while making evening tea and morning coffee a breeze..
For drinking and cleaning water you have a few choices. We opted to bring everything we needed with us for this short trip. We each had two 1-L water bottles accessible on our boards and we brought a Sea-to-Summit Watercell X 10L water bag. By bringing our water with us it saved time and energy compared to using a backpacking water filter pump (we did bring a pump with us as a backup though).
Sitting around a campfire as the sun sets and the stars begin to twinkle is one of the most quintessential parts of camping! Always check your local fire and firewood regulations before your trip. Unless you are using an established, non-dispersed, campsite with a dedicated permanent fire ring, I highly recommend bringing along a portable fire pit. I’ve had a Fireside Pop Up Pit for years and it works wonderfully. It folds down to the size of a camp chair, contains your fire and ashes, and actually helps the campfire burn cleaner with less smoke and less leftover coals because of the increased airflow from beneath the fire pit. We also opted to bring along a commercially available 3-hour fire log to burn rather than relying on the presence of suitable firewood.
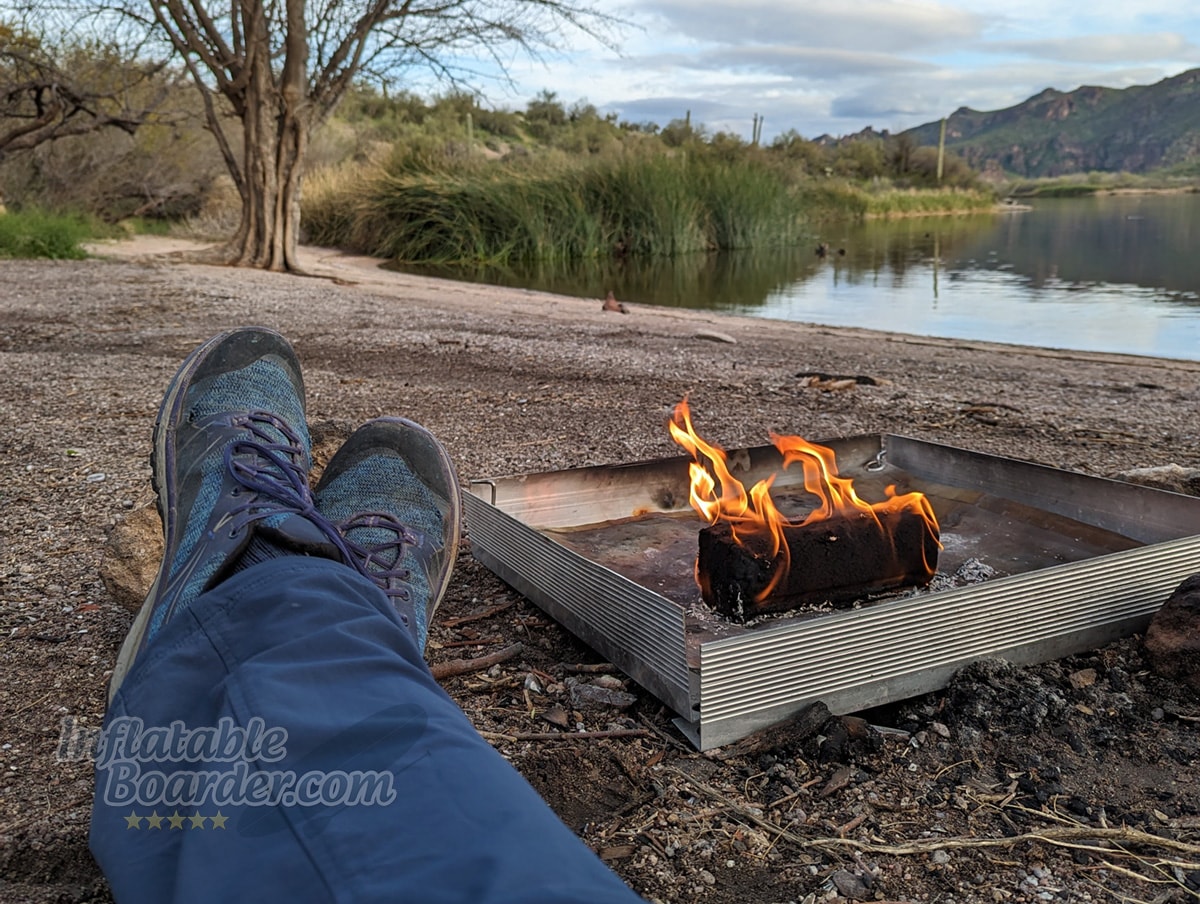
A campfire warms your feet and your soul. A fire pan helps contain your fire and makes for easy cleanup.
There is another aspect of camping that everyone deals with, but no one likes to talk about. It strikes fear into the heart of the un-initiated, and it puts a thousand-yard-stare on the face of the experienced as they answer the inevitable question asked to all those who explore the natural world: “So how did you poop?” We all do it, and when camping we all do it in the wild. However there is a right way and a wrong way. The wrong way is to wantonly leave your leavings wherever you go. Depending on your location there are three things you could do with your poo, and some areas specify which to use:
1. Use an existing pit or composting toilet if you are at an established campsite.
2. Use a trowel to dig a cat-hole correctly – 6-8” deep, 200 feet from any trail, campsite, or water source. Fill the cathole back in when finished.
3. Pack It Out – use a portable toilet (aka “groover”) or “wag bags” to carry out your waste. It’s best practice to put used “wag bags” into a hard-sided, waterproof container to prevent spills.
Once you’re done with your business, make sure to wash your hands or use an alcohol-based hand sanitizer before taking part in any other camping or paddling activities.
Final Thoughts on How to Paddleboard Camp
I hope this guide has given you a great start on your first (or next) SUP camping experience. As always, if you have any questions about paddleboard camping, please feel free to comment below or send us an email using the contact form at the bottom of this page. I wanted to leave you with one more, very important, aspect to keep in mind whenever you are enjoying your time in nature whether that’s SUP camping, day paddling, hiking, or just walking through your local town park.
Leave No Trace
The Leave No Trace principles are easy-to-follow guidelines on how to enjoy your time outdoors and ensure that everyone after can enjoy it just as well.
There are seven LNT principles:
- Plan Ahead and Prepare
- Travel & Camp on Durable Surfaces
- Dispose of Waste Properly
- Leave What You Find
- Minimize Campfire Impacts
- Respect Wildlife
- Be Considerate of Others
Consider bringing along a durable trash bag on your paddling adventures (I like to use empty grain bags from breweries) that you can use to not only pack out your trash, but pick up any other trash you may find. Leaving a place better than you found it is like a little gift you can give to the world – including yourself for the next time you return.
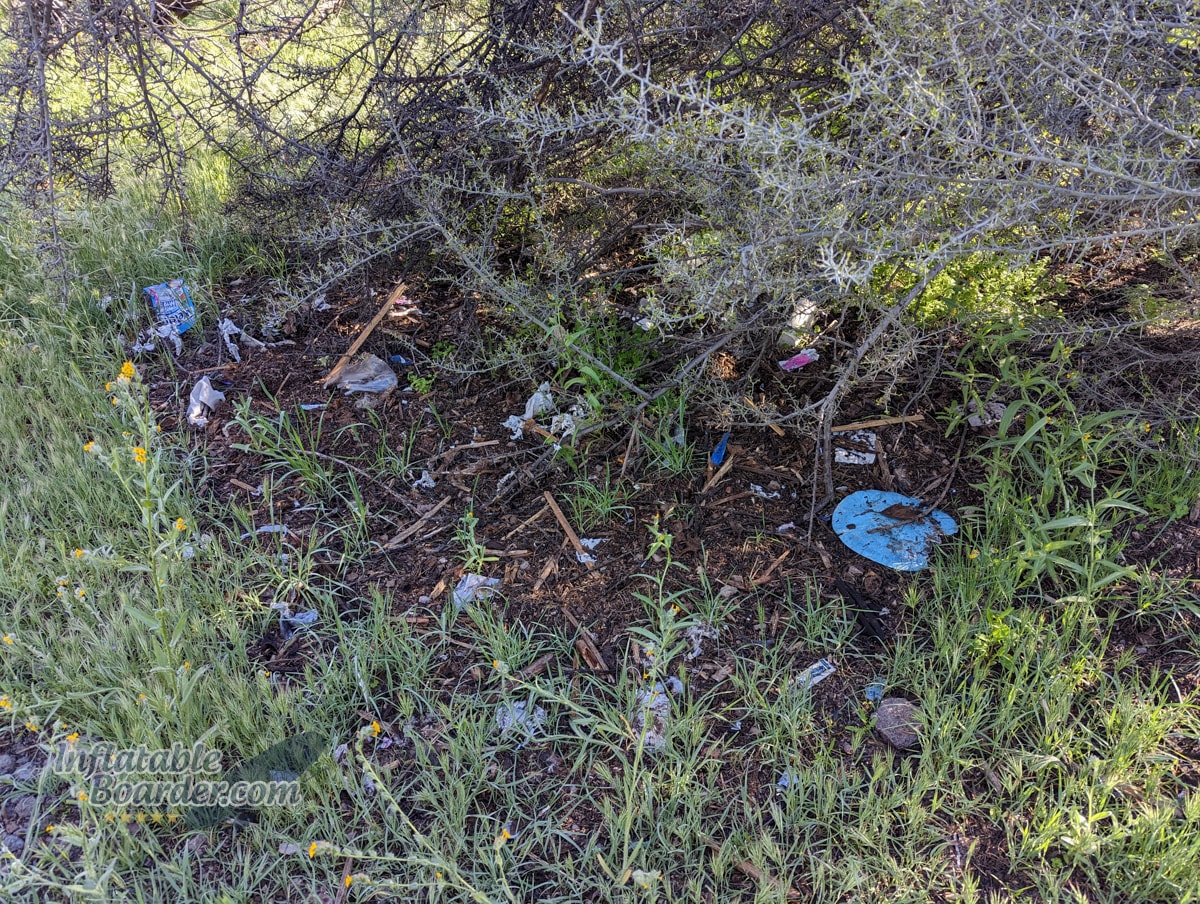
Please make sure to pack out all of your waste including trash, biological waste, and fire ashes if required.
Well I can’t end this guide with a photo like that! How about a lovely sunset panorama? Yes, I like that idea much better!
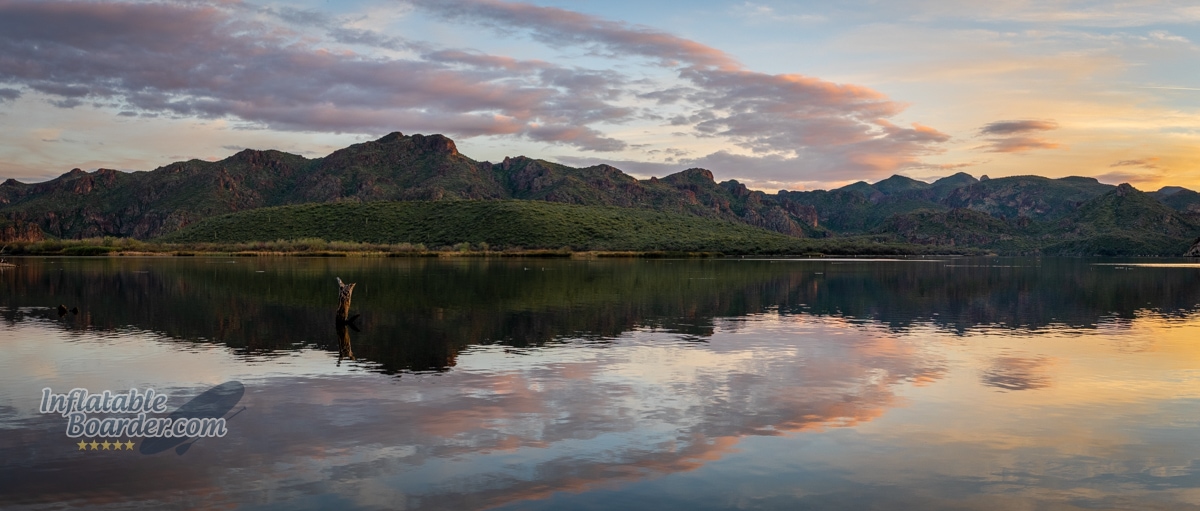
A perfect SUP camping sunset over Saguaro Lake, AZ


Leave a Reply